How to add a custom domain? 🌎
Use your own custom domain to matches your brand, your company, or your website.

Ayoub Amine
Last Update 2 năm trước
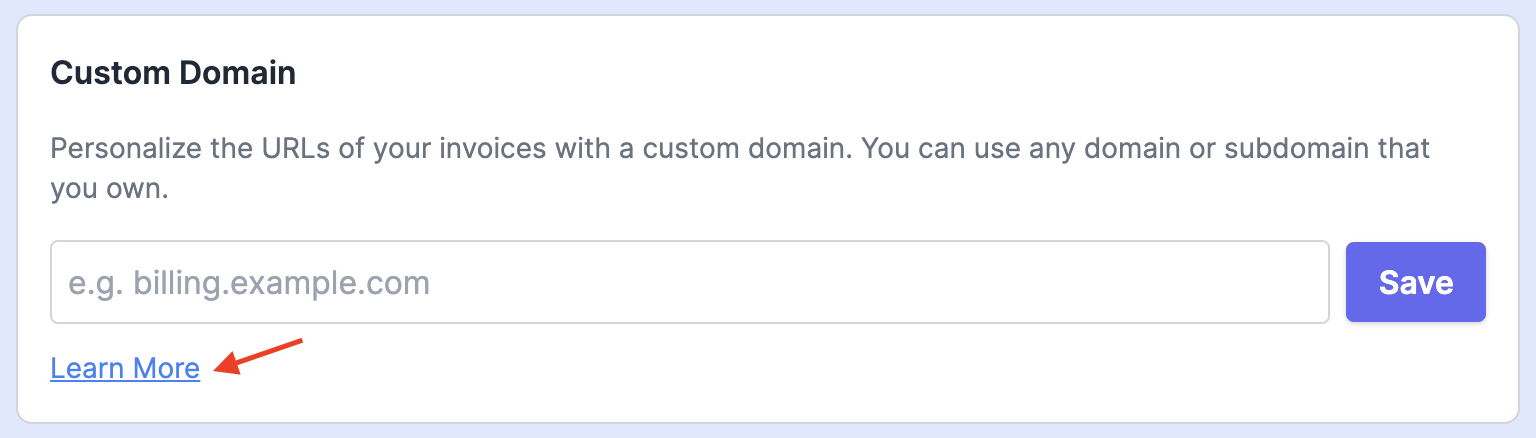
Personalize the URLs of your invoices with a custom domain. You can use any domain or subdomain that you own.
1. Go to the Integrations page.
2. From the "Custom Domain" section, click on "Learn More".
3. Verify your ownership of the domain by adding a verification ID as a TXT record with your domain provider.

4. Add a CNAME record for your desired domain pointing to custom.invoiless.com.
💡 For those using Cloudflare: when setting up your CNAME record, set it to DNS proxy only by clicking on the little orange cloud at the end of your DNS line.

💡 Refer to your domain registrar's documentation for information on how to edit your domain's DNS (Domain Name Service) records.
GoDaddy: Domains Help: Add a CNAME record
Namecheap: How to Create a CNAME Record For Your Domain
5. After adding the TXT and CNAME records with your domain provider, fill in your custom domain, then click "Save". 🎉
✅ Your custom domain should be fully secured and ready to go.

🚧 We will automatically generate an SSL certificate on your behalf using Let's Encrypt.
If you still have any questions, ping us on the live chat and we'll do our best to help you out quickly. 🤗
Enjoy ❤️